環境構築が終わった後は、サンプルを実行してみましょう。
object_detection_demo_ssd_async のサンプルを使います。
今回実行するobject_detection_demo_ssd_asyncのサンプルは以下のフォルダになります。
C:¥Program Files (x86)¥IntelSWTools¥openvino¥inference_engine¥demos¥python_demos¥object_detection_demo_ssd_async
実行の前に
サンプルを実行する前に、READMEファイルを確認しておきましょう。
サンプルで必要なモデルや実行例が記載されています。
モデル
このサンプルでは以下のモデルが利用できます。
face-detection-adas-????
face-detection-adas-binary-????
face-detection-retail-????
pedestrian-and-vehicle-detector-adas-????
pedestrian-detection-adas-????
pedestrian-detection-adas-binary-????
person-detection-retail-0013
vehicle-detection-adas-????
vehicle-detection-adas-binary-????
vehicle-license-plate-detection-barrier-????
モデルのダウンロードはhttps://openvino.jp/model_downloader/を参照してください。
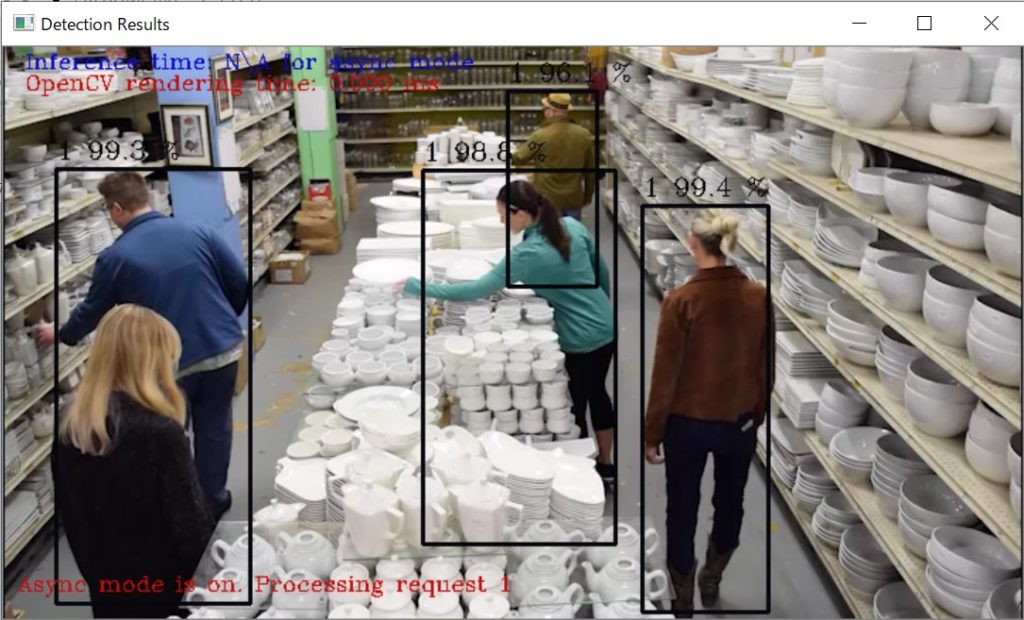
まずはperson-detection-retail-0013を利用してみます。
動画ファイル
https://github.com/intel-iot-devkit/sample-videos/raw/master/store-aisle-detection.mp4
をダウンロードしておきます。
実行
環境変数の設定をしていない場合は、コマンドラインで以下を実行します。
C:¥Program Files (x86)¥IntelSWTools¥openvino¥bin¥setupvars.bat
以下のコマンドで実行します。ESCキーで終了します。
モデルの格納先、動画ファイルのダウンロード先は各自の環境のパスを指定してください。
cd C:¥Program Files (x86)¥IntelSWTools¥openvino¥inference_engine¥demos¥python_demos¥object_detection_demo_ssd_async
python object_detection_demo_ssd_async.py -m C:¥Users¥<ユーザ名>¥Documents¥Intel¥OpenVINO¥openvino_models¥intel¥person-detection-retail-0013¥FP16¥person-detection-retail-0013.xml -i C:¥Users¥<ユーザ名>¥Documents¥Intel¥OpenVINO¥videos¥store-aisle-detection.mp4

通路の人間が認識されたでしょうか?
他のモデル(-m)、動画(-i)でも試してみましょう。
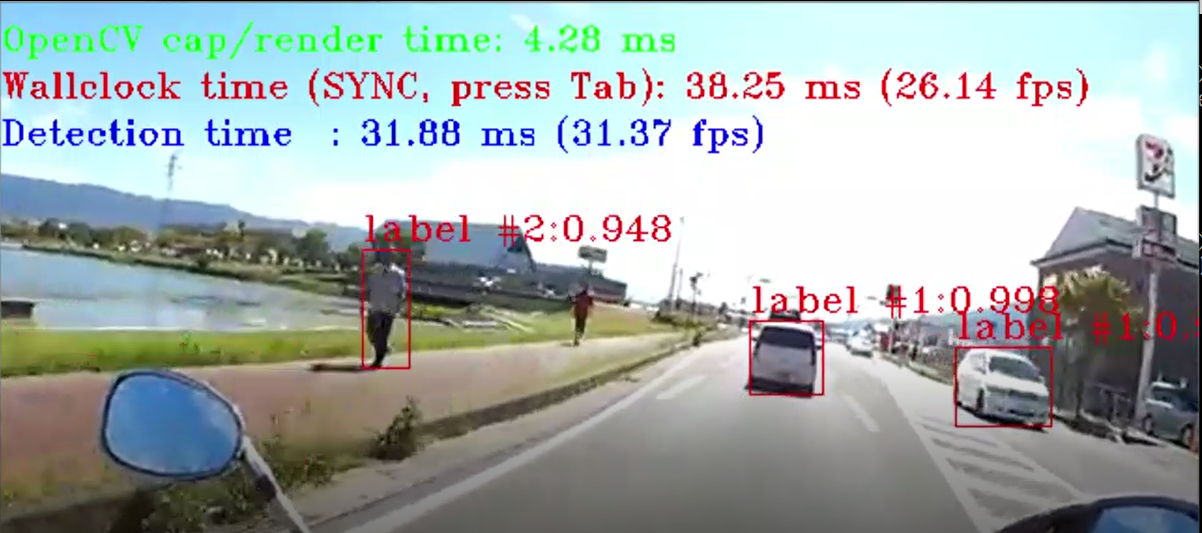
モデル:pedestrian-and-vehicle-detector-adas-0001.xml
動画:https://github.com/intel-iot-devkit/sample-videos/raw/master/person-bicycle-car-detection.mp4
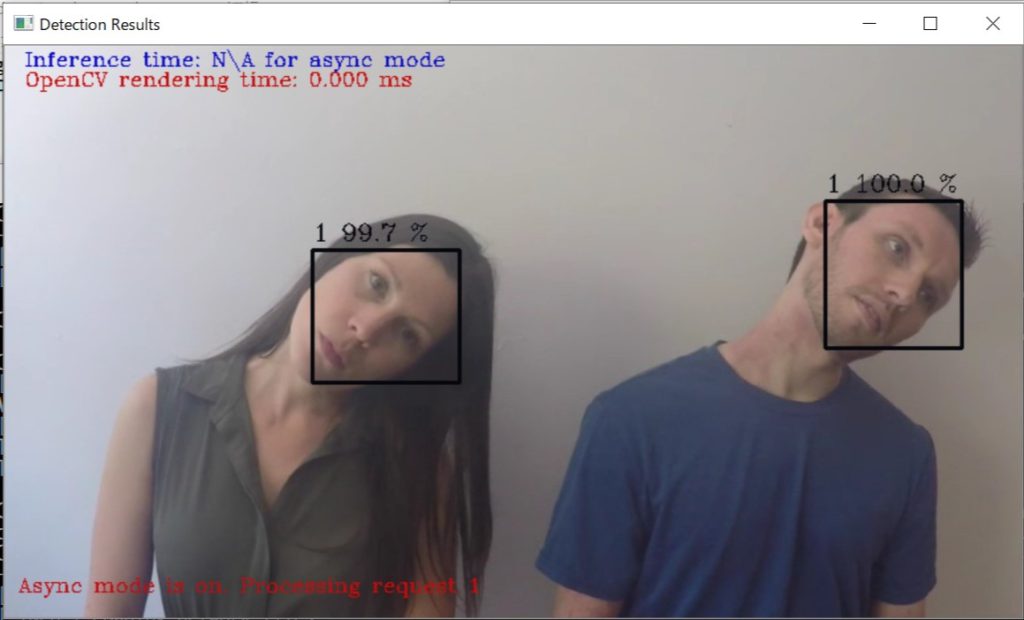
モデル:face-detection-adas-0001.xml
動画:https://github.com/intel-iot-devkit/sample-videos/raw/master/head-pose-face-detection-female-and-male.mp4

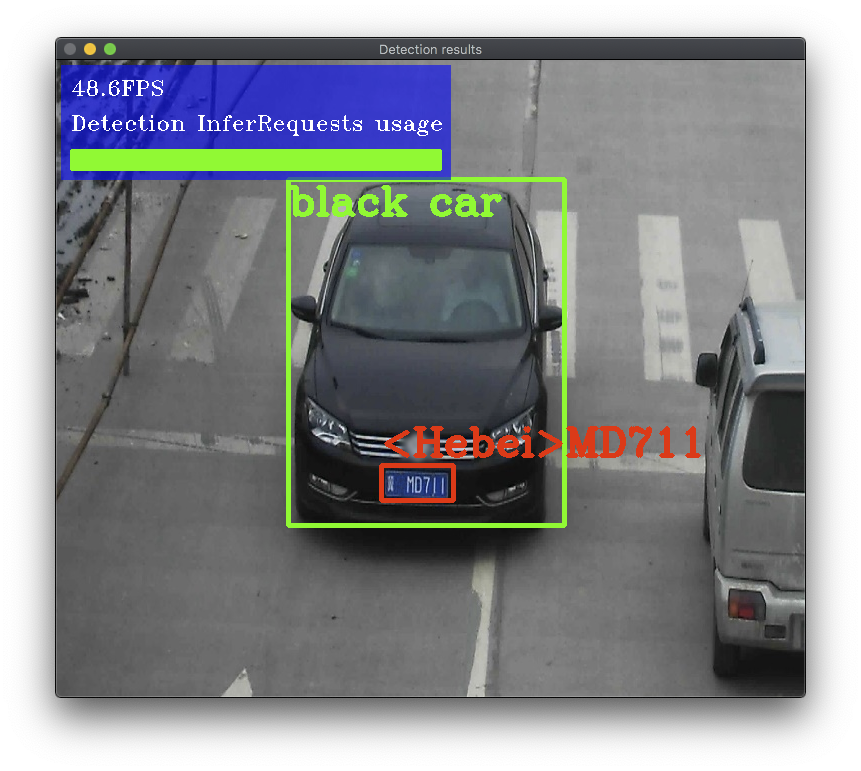
intel64\Release>object_detection_demo_ssd_async.exe を使用した例も掲載しておきます。
モデル:FP32\pedestrian-and-vehicle-detector-adas-0001.xml
モデルと動画をいろいろと変えて試してみると面白いと思います。
もっと他のサンプルも実行したくなりましたよね?。そんな方には、ぜひ次のページも挑戦してみてください。

フリーのITエンジニア(何でも屋さん)。趣味は渓流釣り、サッカー観戦、インラインホッケー、アイスホッケー、RaspberryPiを使った工作など。AI活用に興味があり試行錯誤中です。

