Segmentation(領域分割)のデモをpythonで実行してみましょう。
以下のフォルダにデモ用のpyhtonスクリプト があります。書き込み権限のあるフォルダにコピーしておきましょう。
/opt/intel/openvino_2020.1.023/deployment_tools/open_model_zoo/demos/python_demos/segmentation_demo
1. ターミナルを開きます
2.環境変数が設定されていない場合は実行してください。
source /opt/intel/openvino/bin/setupvars.sh
3.ヘルプを確認しましょう。
python3 segmentation_demo.py -h

usage: segmentation_demo.py [-h] -m MODEL -i INPUT [INPUT ...]
                             [-l CPU_EXTENSION] [-d DEVICE] [-nt NUMBER_TOP]
Options:
   -h, --help            Show this help message and exit.
   -m MODEL, --model MODEL
                         Required. Path to an .xml file with a trained model
   -i INPUT [INPUT ...], --input INPUT [INPUT ...]
                         Required. Path to a folder with images or path to an
                         image files
   -l CPU_EXTENSION, --cpu_extension CPU_EXTENSION
                         Optional. Required for CPU custom layers. Absolute
                         MKLDNN (CPU)-targeted custom layers. Absolute path to
                         a shared library with the kernels implementations
   -d DEVICE, --device DEVICE
                         Optional. Specify the target device to infer on; CPU,
                         GPU, FPGA, HDDL or MYRIAD is acceptable. Sample will
                         look for a suitable plugin for device specified.
                         Default value is CPU
   -nt NUMBER_TOP, --number_top NUMBER_TOP
                         Optional. Number of top results
ここでは、このデモをCPUで実行する事にします。ヘルプから、実行に必要な指定は-mと-iである事がわかります。
4.モデルのダウンロード
モデルダウンローダ、または、https://download.01.org/opencv/ からモデルをダウンロードしておきます。ここでは、以下のモデルを利用しました。
- semantic-segmentation-adas-0001.xml
- semantic-segmentation-adas-0001.bin
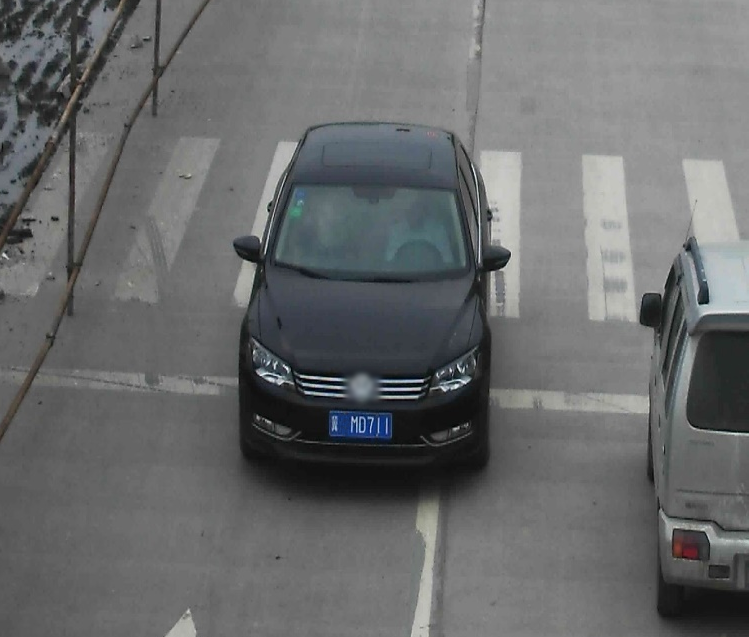
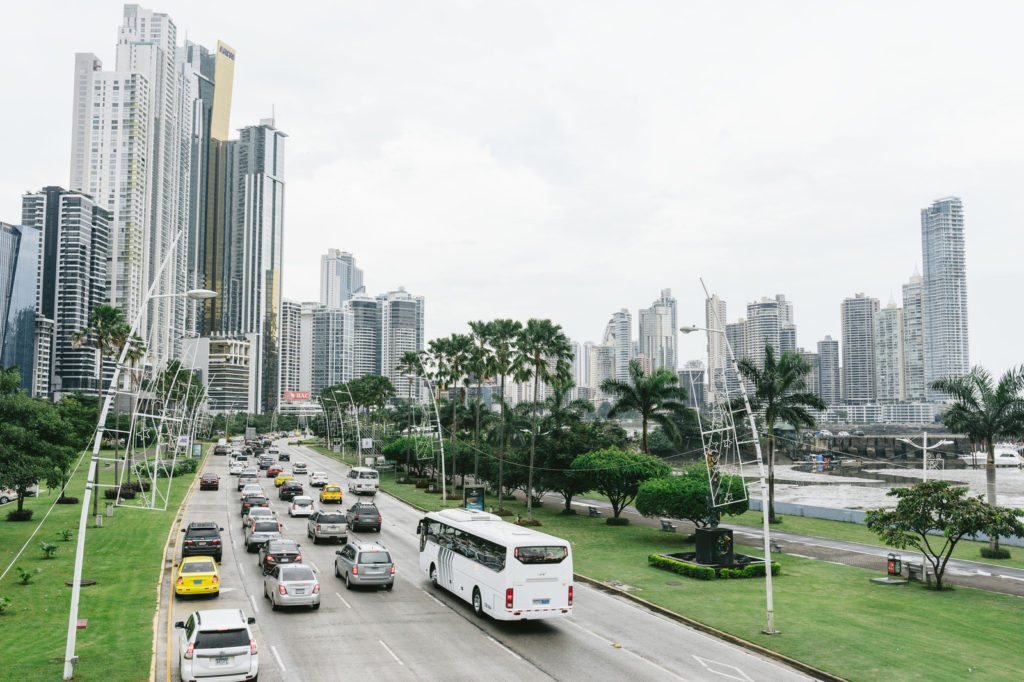
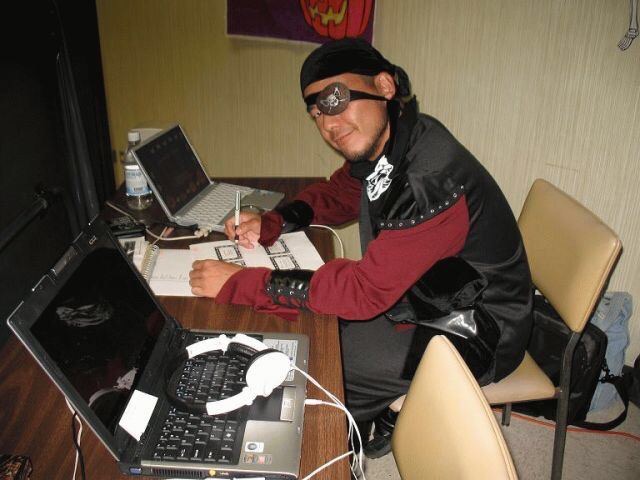
5.インプット用の画像を用意します。
ぱくたそさんから画像を借用しました。
6.スクリプトを実行しましょう。
python3 segmentation_demo.py -m /<モデルの格納パス>/semantic-segmentation-adas-0001.xml -i <画像の保存先パス>
実行すると、以下のように進みます。
 [ INFO ] Creating Inference Engine
 [ INFO ] Loading network files:
  <モデルの格納パス>semantic-segmentation-adas-0001.xml
  <モデルの格納パス>/semantic-segmentation-adas-0001.bin
 [ INFO ] Preparing input blobs
 [ WARNING ] Image <画像の保存先パス> is resized from (1066, 1600) to (1024, 2048)
 [ INFO ] Batch size is 1
 [ INFO ] Loading model to the plugin
 [ INFO ] Starting inference
 [ INFO ] Processing output blob
 [ INFO ] Result image was saved to out_0.bmp
 [ INFO ] This demo is an API example, for any performance measurements please use the dedicated benchmark_app tool from the openVINO toolkit
7. 結果(out_0.bmp)を確認します。ファイルが無い場合は、実行しているフォルダに書き込み権限があるかどうかを再度確認してください。

サンプルは実行出来たでしょうか。他の画像やモデルも試してみてください。
フリーのITエンジニア(何でも屋さん)。趣味は渓流釣り、サッカー観戦、インラインホッケー、アイスホッケー、RaspberryPiを使った工作など。AI活用に興味があり試行錯誤中です。